Why should you have your ski bindings professionally fitted?
Drilling Ski Bindings: A Comprehensive Guide for Piste and Touring Skis
When it comes to skiing, one crucial aspect that often goes unnoticed is the proper installation of ski bindings. Whether you're hitting the groomed runs on piste skis or exploring the backcountry with touring skis, the correct drilling and mounting of bindings is essential for performance, safety, and comfort. In this blog post, we'll delve into the intricacies of drilling bindings for different types of skis, with a focus on piste and touring skis.
Understanding Ski Bindings
Before we get into the drilling process, let's briefly touch on what ski bindings are and why they matter. Ski bindings are the devices that attach your ski boots to your skis. They play a critical role in ensuring your safety by allowing your boots to release from the skis during a fall to prevent injuries. There are different types of bindings suited for various skiing styles, but the mounting process generally follows a similar pattern with key differences based on ski type and intended use.
Tools and Materials Needed
- Ski Drill: A specialised drill with adjustable depth settings.
- Binding Jig: A template that ensures precise hole placement for the bindings.
- Drill Bits: Appropriate sizes based on ski and binding type (typically 3.5mm for piste and 4.1mm for touring skis).
- Binding Screws: Provided with the bindings.
- Epoxy or Wood Glue: To secure the screws and prevent water damage.
- Screwdriver: For final tightening.
- Measuring Tape: To ensure accurate positioning.
- Marker: To mark drill points.
Drilling Bindings for Piste Skis
Piste skis are designed for groomed runs and require precise binding placement for optimal performance. Here’s a step-by-step guide:
-
Determine Boot Sole Length: Measure the length of your ski boot sole in millimeters. This measurement is crucial for positioning the bindings correctly.
-
Position the Jig: Place the binding jig on the ski, aligning it with the ski’s centerline and the boot sole length mark. The jig will ensure that the holes are drilled at the correct distance and angle.
-
Mark the Drill Points: Using a marker, mark the points where you will drill the holes. Ensure that the marks are clear and accurately positioned.
-
Drill the Holes: Set the drill bit to the appropriate depth (usually around 9mm for piste skis). Carefully drill the holes at the marked points, ensuring you maintain a straight angle to avoid damaging the ski core.
-
Apply Glue: Add a small amount of epoxy or wood glue to the holes to secure the screws and prevent water from seeping into the ski core.
-
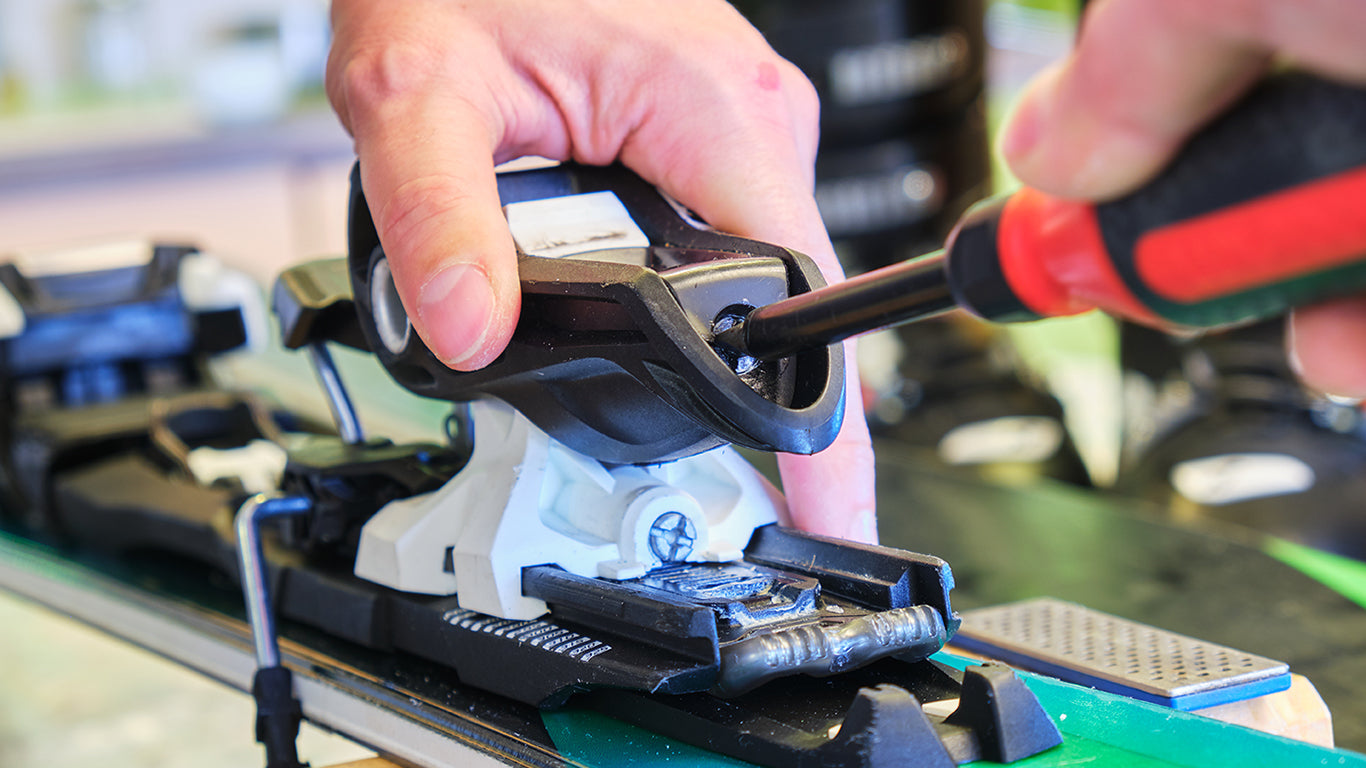
Mount the Bindings: Position the bindings over the drilled holes and insert the screws. Use a screwdriver to tighten the screws firmly, but avoid overtightening, which can strip the holes.
Drilling Bindings for Touring Skis
Touring skis are designed for backcountry exploration and often require different bindings, such as tech bindings. Here’s how to drill bindings for touring skis:
-
Determine Boot Sole Length and Pin Line: Measure your boot sole length and mark the pin line (the point where the binding pins will align with the boot tech fittings).
-
Position the Jig: Place the touring binding jig on the ski, aligning it with the ski’s centerline and the pin line mark. Touring bindings often have more complex jigs due to additional components like heel risers.
-
Mark the Drill Points: Mark the drill points for both the toe and heel pieces of the touring bindings. Ensure all marks are accurately placed.
-
Drill the Holes: Use a 4.1mm drill bit for touring skis, as they typically require slightly larger holes to accommodate different screws. Drill carefully to avoid any misalignment.
-
Apply Glue: Similar to piste skis, apply a small amount of epoxy or wood glue into the holes for added security and moisture protection.
-
Mount the Bindings: Align the toe and heel pieces of the touring bindings with the drilled holes. Insert and tighten the screws using a screwdriver, ensuring they are secure but not overtightened.
Final Checks and Adjustments
After mounting the bindings on either piste or touring skis, it's important to perform a few final checks and adjustments:
-
DIN Setting: Adjust the DIN (Deutsches Institut für Normung) setting on your bindings to match your weight, height, skill level, and skiing style. This setting determines the release force of the bindings.
-
Function Test: Step into the bindings with your ski boots and ensure they engage and release correctly. This test ensures the bindings are mounted properly and will function as intended.
-
Visual Inspection: Check for any visible gaps or misalignments between the bindings and the skis. Correct any issues before hitting the slopes.
Conclusion
Properly drilling and mounting ski bindings is a critical step in ensuring your safety and performance on the slopes. If you're unsure about any step in the process, it's best to consult with one our our professional ski technicians to ensure your equipment is ready for your next adventure. Happy skiing!


Leave a comment
This site is protected by hCaptcha and the hCaptcha Privacy Policy and Terms of Service apply.